OKAY! Guys. I did it. And I have new found respect for everyone who has every written a pattern or tutorial. It's a lot of work.
So without further ado... The Just the Essentials Clutch Tutorial!
Supplies:
A fat quarter or regular quarter yard of main (really you need a rectangle about 13x10.5 or two rectangles 6.5x10.5)
At least a fat quarter of lining fabric
Interfacing (I use Pellon SF101 for the inside and Pellon TP971F for the outside)
Narrow contrast strip for the wrist strap
Zipper at least 11" in length
Optional: D-ring and lobster clasp if you want the strap to be removable
FIRST. Cut your stuff!
2- 6.5" x 10.5" rectangles for the outside. These can be plain, patchwork, quilt as you go, appliqued, whatever you want! Get creative with it!
1- 6.25" x 10.25" piece for one lining wall
1- 8.5" x 10.25" piece for divider pocket
1- 13" x 10.25" piece for card slots
1- 2" x 14" piece for wrist strap OR TEST WRIST STRAP REMOVABLENESS
Interfacing:
TP971F (Thicker stuff):
2- 6.25 x 10.25 pieces for outside (I cut mine a little smaller than the outside to reduce a little bulk in the seams)
SF101 (Thinner stuff):
1- 6.25" x 10.25" piece for one lining wall
1- 8.5" x 10.25" piece for divider pocket
1- 13" x 10.25" piece for card slots
1- 2" x 14" piece for wrist strap
OKAY. Is everything cut out now? Good! Let's move on.
SECOND. Fuse your interfacing to your fabric pieces according to manufacturer's directions.
THIRD. Make your card slots.
1. Lay your 13 x 10.25 piece on your table and get out a ruler that is close in size to your piece. I like to use my 9.5" square.
2. Line the ruler up at 3" from the bottom on the wrong side.
3. Fold the fabric over the ruler, making sure it's straight.
4. Slide the ruler out and finger press the fold. You can use clips or pins to old the fold if you like.
5. Lay the ruler on top of the piece again, this time lining it up at 1.5" from the top of the fold.
6. Fold the fabric up over the ruler, making sure it's straight before sliding it out. Finger press the crease and pin/clip in place if you like.
7. Line up the ruler again (here is where having a slightly smaller ruler comes in handy, especially if you're using wonder clips!) at 2.5" from the fold. Make sure you're lining it up at the fold and not at the bottom!!
8. Fold the fabric down over the ruler and make sure it's straight before sliding it out and finger pressing the crease.
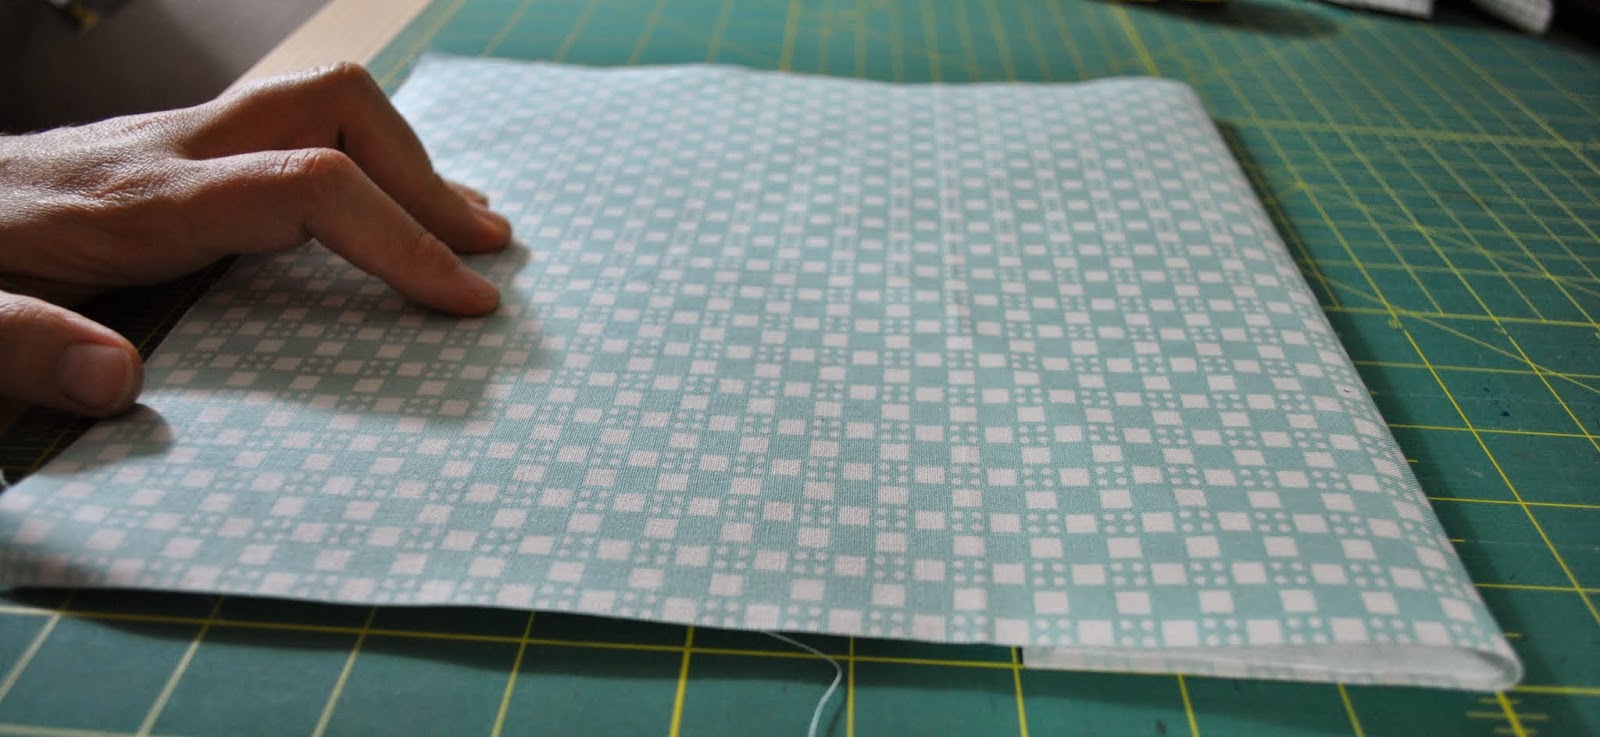
9. Are you ready! Last fold! Line up your ruler at 1.5" from the fold and fold the fabric up over the ruler. Finger press your crease and clip in place. After turning the piece over, it should look like this:
10. At this point you'll want to measure your piece and make sure it's 6.25" tall. Sometimes mine are spot on and sometimes they end up a little big. If it's a little big, you can trim off a little bit from the top or bottom to make it the right size.
11. Now you want to iron those folds so they're nice and crisp. Then top stitch them in place. Make sure you fold back the pockets so you're only sewing through each fold and not through all the layers! Otherwise you'll just sew your pockets shut and that's no fun! After top stitching, it looks like this (I know this picture is terrible. I'm not sure what happened! Please forgive me):
12. Now you can sew the lines to make the actual slots! YAY! First, mark the center line (should be 5 1/8" from the side). Then make 3.5" on either side of the center line. Make sure you are only marking the actual pockets because that's where you will sew. You don't need to sew all the way up (though I suppose you could if you wanted to). They are very faint in my picture... My pen was dying.
13. Now top stitch on those lines, being sure to reinforce the top of the pocket by backstitching. I usually leave my tails long on this side so I can pull them through to the back and knot them for extra security. When you're done it should look like this but less blurry (seriously, guys, I might get my fake photography license revoked for this):
YAY! Card slots are done!!
FOURTH. Make your divider pocket.
14. Fold your 8.5x10.25 piece in half and iron that crease. Then topstitch! That's it! Easy peasy.
See how nice the topstitching looks? :)
FIFTH. Make your strap.
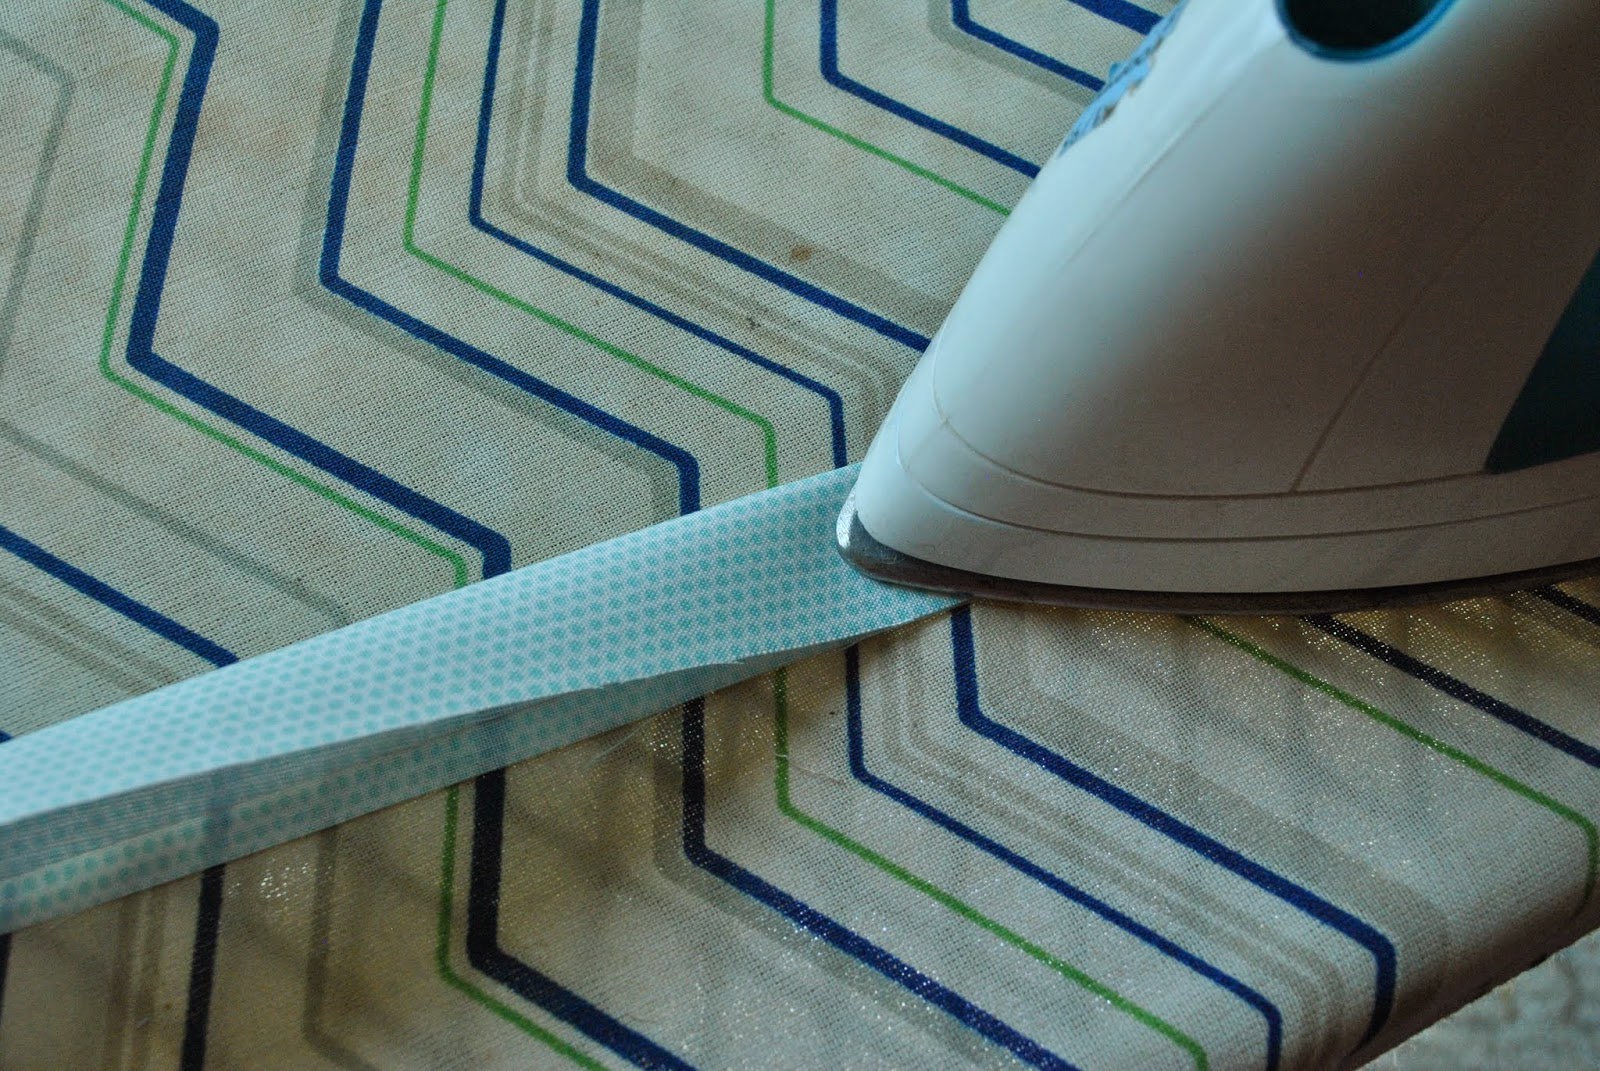
15. Fold your strap piece in half and iron it. Like you're making a quilt binding! I know my ironing board isn't much to look at...
16. Open it up and fold the two side in to meet at the center. Iron these, too.
17. Fold your creased strap piece in half so the raw edges are inside the fold. Then stitch the two folded edges together. I also like to add a line of stitching to the other side so it matches. It should look like this when you're finished:
YAY! All your pieces are ready to go! Now we can get to the really fun part!
SIXTH. Assemble your bag.
18. We're going to make a little sandwich. First, lay down your outside piece face up. Then lay the zipper on top of it face down. Line up those top edges!
19. Lay your lining piece down on top of the zipper, face down, lining up the top edges and centering the lining over the outside piece. Pin or clip in place!
20. Sew the layers together with about a 1/4" seam allowance. I like to use my walking foot for this. When you're done you'll have a nice little sandwich.
21. Fold the pieces back and press with your iron. Be careful not to melt your zipper!! Then you'll topstitch next to the zipper. Remember this picture? YAY TOPSTITCHING!
22. Okay, now we're going to do the same thing on the other side. BUT FIRST. Baste your divider pocket to your remaining lining piece along the bottom so you don't forget to add it in the final phase. Not that I have ever done that... ahem...
Yay! Almost there!
23. Now we are going to sew it all together! First, pin or clip your strap in place. I like to put mine a couple of inches down from the zipper. I don't usually measure. But I like it above the middle for sure. I also leave a little sticking out so that I can easily see where it is while I'm sewing so I'm not surprised by the bulk!
24. Now fold your outer pieces together and line them up so they are right sides together. Do the same with your lining pieces. It should look like this:
25. At this point, you will want to make sure you unzip your zipper about 3/4 of the way. Add a copious amount of clips or pins. Make sure your zipper is folded with the teeth facing the lining. This will make sure your corners are neat and tidy.
26. I'm sorry. I failed to get a picture of this step because I was so excited about getting it done! But now you will sew all around the outside of your bag, leaving a few inches in the bottom of the lining for turning. I like to go over the strap at least twice for security.
27. Seriously failing at pictures. Now you can clip off the extra bits of zipper ends and strap ends, clip your corners a little to reduce bulk, and turn your bag right side out! It's basically done! All you have to do now is sew the hole in the lining closed (I do it by hand with a ladder stitch).
WOW. Done! Aren't you proud?? You should be! HIGH FIVE!
If you make a bag, I'd love to see pictures! Just shoot me an email or tag me on Instagram (@crookedbanana). Let me know if you have any trouble with the tutorial or if you see any mistakes! My eyes are going all funny and crossed from staring at it so much.


Your finished clutch is so cute, and I love all the pockets!
ReplyDeleteYou make it sound so easy! I really need to start collecting some zippers so I can try making a few pouches and stuff but I never think of buying them or know which random sizes I should buy.
ReplyDeleteA lot of work, yes - but you did a great job on the tutorial! :-)
ReplyDelete