Pages

Showing posts with label clothing. Show all posts

Wednesday, September 23, 2015

A Staple Dress

Hello once again!

September has been a crazy month. I had 2 weddings and a 10k to run, all on consecutive weekends. Crazy, right? I can't lie- I'm pretty exhausted from all of it. But do I get to rest this week? No, because I have something booked for myself to do after work every night this week. All fun things, don't worry, but man. I am going to sleeeeep this weekend!

But you came for pretty things, right? Hopefully this qualifies.

anna maria horner voile staple dress front

Yes, I made another dress! This time of the Staple variety. I picked up this Anna Maria Horner voile aaages ago and just now decided what I was going to make. It was a difficult decision. The fabric is just so pretty and I didn't buy enough to make anything terribly complicated. So this was really the perfect solution.

anna maria horner voile staple dress back

I know everyone and their mom has made a Staple dress and so you have probably already heard how comfortable they are. Well, they are. Simple, comfortable, easy to wear. And the light voile made this a perfect late summer make. Not that I will have to stop wearing it in fall. Because Tucson.

anna maria horner voile staple dress

I kind of love dresses with pockets, but I think this fabric is probably too light to make them very useful. If you put anything in them it drags the dress down in a rather unattractive way. So I don't use them much. Next time I will omit them if I'm using a similarly lightweight fabric.

I'm afraid I haven't finished much else this month, but next time I'll show you what I'm actually working on instead of waiting til the end. I'm not great at remembering to take progress shots, but I will try!

Happy first day of fall!!

Sunday, June 14, 2015

Knitting, knitting, knitting...

Craft-wise, that's all I've been doing lately. But I've also been reading a lot of books. And thinking about trying to find balance between all the things I like to do instead of obsessively doing just one and neglecting all the others for large chunks of time. Not that I've actually figured out how to do that, but I've been thinking about it...

I'm making a sweater for Mario. I don't know if he'll like it or wear it, but he picked out the pattern and the color. I chose an acrylic yarn to make him more likely to wear it. Things I know about Mario: (1) if an article of clothing is too expensive, he won't want to wear it for fear of ruining it and (2) if he has to hand wash it, it won't get washed. So acrylic seemed the best way to go. If anyone is curious, it's Lion Brand Heartland in Black Canyon. The pictures aren't great (it's really hard to photograph black, I'm finding). It's really just black with some gray flecks in it. It looks much better in person, trust me!

knits men want henley black


The pattern is from Knits Men Want. I think the title of the book is cheesey, but it was one of the few patterns I found that he actually liked. I showed him so many pictures of Ravelry! But this was THE ONE. So I bought the book and went to work.

I'm just about to put split the sleeves off on some scrap yarn and continue the torso. Exciting! The miles and miles of stockinette may not be incredibly entertaining, but it is meditative. Very enjoyable at the end of a long day. And it's helping me get faster with my continental knitting.

knits men want henley black

Other things that are difficult about sweater photography... I can't spread it out because my cable is too short :(

My goal is to have this be a wearable sweater by the end of the summer. The end of the summer in Tucson, of course, is pretty much mid-October, though, so I have plenty of time. I've made really good progress so far, so I'm very optimistic!

I'm also knitting a shawl, which is more interesting to look at. But I'll save that for another post :)

Monday, May 18, 2015

The Dress and Starting Again

Here I am, over 6 weeks later making good on my promise to talk about the dress. I've spent the last weeks thinking about a lot of things craft related and who I am as a blogger, as a maker, as a person. I didn't intend to take time away from the blog, but I think it was good for me because it gave me a bit of perspective. I started this blog as a Quilter. I wanted to make quilts and read about quilts and quilting and fabric all the time. But more and more I found myself straying into other crafts. I love yarn, for example. I've been crocheting longer than quilting and now I've taken to knitting as well to the point that I think about yarn more than I think about quilting. I've also been experimenting with sewing clothes more and looking at other things I want to make or do as well. I'd love to figure out how to keep plants alive in a real garden, for instance. Or to dye yarn. The more I started learning new things, the less I felt like I could share them here. I felt like anything that was not to do with quilting had no place here. Sure, I mentioned my other projects once in a while, but quilting was supposed to be the Main Event. When that stopped being the case, the blogging dropped off.

But lately I've been thinking about how silly that is. I started this blog because I wanted to reach out and find other crazy people like me who think that spending 5, 10, 40 or even more hours on making something we could easily go buy in a store is worthwhile and even fun. Most of us crafty people don't just stick to one craft, after all. So why shouldn't my blog be about whatever I'm pursuing at the moment? So now I feel ready to return with less expectations and pressure on myself, with more of an attitude toward exploration and sharing those explorations with you.

So, in the spirit of all that, I'm going to talk about making my own wedding dress.

This is my family. In case you're wondering, the older gentleman is not my grandfather, he is my father.

First, a note about wedding dresses. I don't understand wanting to spend hundreds or thousands of dollars on a dress you're only going to wear once. I also don't understand the appeal of white dresses (so hard to keep clean!) and dislike the symbolism that has come to be associated with them, so I pretty much rejected the traditional expensive white wedding dress from the beginning. From the start I knew it would be hard to find a purple wedding dress. They just aren't a thing. So I figured I would have to make it myself if I didn't want to pay a huge amount of money for someone else to make me a custom dress or if I didn't want to choose from the cocktail dresses and prom dresses available in department stores. And that was totally fine with me- it would be cheaper this way, anyway and allow me total control of the dress.

In the spirit of that, my dress cost less than $100 to make. Really, including the price of the pattern, the thread that I didn't have on hand, and the sparkly belt I bought on Etsy, it was about $70.

And Mario's family.
The pattern is the Flora Dress. I only made a couple of alterations to it. I had to do a small bust adjustment, which went just fine, though I probably could have taken out another quarter inch or so. And I had to take a wedge out of the back on either side of the zipper so the straps wouldn't slide down my shoulders. Other than that, the pattern sewed up easily and more quickly than I expected. The dress was one of the first things I crossed off my list!

The fabric is a polyester satin with a crochet lace overlay. I picked both up at a local fabric shop for around $3/yard. They aren't super luxurious, but I love the way they look and I love the way the dress turned out. It has a great weight and swish to it that I really loved.


Originally I had this notion that I would construct this elaborate dress with layers and layers of chiffon cascading all around me (likely this came from too many hours browsing Pinterest for the perfect dress- it's dangerous!). But then I thought about what a headache that would be and how terrified I would be all night about getting it dirty or catching the floaty chiffon on a cactus or something and I threw that idea right out the window. This was a much more sensible dress and really, it's much more my style.

So, there you have it. A simple, homemade wedding dress for a simple, homemade wedding. I'm really excited to share all the other things I've been up to these past two months! It feels good to get back in this space.

Tuesday, October 7, 2014

A Chiffon Staple Dress

For my next adventure in clothes making I give you a chiffon Staple Dress!

chiffon staple dress no head

Yes, my head is cut off. Yes, this is the same photo shoot as the last one. My camera is a little too heavy for the little tripod I have and it was getting tired...

chiffon staple dress

There we go. I made this out of a polyester chiffon I got at a local discount fabric store. It went surprisingly well for my first experience with chiffon! I did a straight size small and opted for the drop hem version. I had a little bit of trouble on the sleeves... my machine decided to try to eat one of them while I was hemming :( So I rolled them again and added extra stitching over the slightly mangled area. Then I added a line of shirring to hide the mangled-ness. Because of course that couldn't happen down near the armpit. Had to be where everyone would seeee. But I kind of like how they look all scrunched up! I might do this again in the future. In case you haven't heard, this was a lovely, easy pattern to follow. I made it up in an afternoon, mangled sleeve rescue and all. Definitely recommend for beginners!

I wasn't sure I would like this pattern on me, but I was pleasantly surprised! It's comfy and flattering and light, which is wonderful. I wish it wasn't almost winter so I could make all the summer dresses... Although, I could just wear leggings under EVERYTHING. Hmmm.

Yes, this part of the shoot is lacking in photos. Because the dogs were getting sick of me and doing this:

staple dress dogs wrestling

I know you can't see my face, but trust me. It was not amused. 

OH. One last thing. In case you don't follow me on Instagram, I kinda got engaged this weekend! Well, officially engaged. Mario and I have really been planning our wedding for quite a long time but we wanted to do things like finish school and buy a house before bothering with a wedding. But we've done that and now we're bothering! Look how sparkly! 

engagement ring close up

Mario does have the best taste :) 

Friday, October 3, 2014

More clothes! Sorbetto and Sew Simple Leggings

I know, I expected this post to come sooner, too. My only excuse is that I ran out of time to have a photo shoot over the weekend! And by ran out of time... I mean totally forgot I needed to do that until the sun was gone. Inside pictures at night don't look good. Trust me.

But anyway... Lately I have decided I want to make more clothes for myself. It's fun and challenging and results in some awesome stuff for me to wear. But where to begin? I have sewn a few clothing items in the past, but I am definitely still a beginner. So I started with some beginner things: Leggings and the Sorbetto top.

Now, I don't wear these together out in the world. I prefer to wear leggings with long tunics or dresses in the winter. But for the sake of ease in my photo shoot, I am wearing them together!

sniff in sorbetto and sew simple leggings

Okay. You see how my dog is smelling me? Yeah, that was going on pretty much the entire time. But I couldn't lock them inside because they'd whine and wake up my boyfriend, who works nights so he sleeps really late. Dilemma! SO I guess you guys get some ridiculous pictures of me modeling with my dogs being like "Mom! What are you doing? What's on your legs? What making that beeping sound (the camera)?" WEEE!

sniff in sorbetto and sew simple leggings

Charlie found the leggings fascinating. I found them to be incredibly easy to sew. The ones I'm wearing here were my first pair. I read somewhere that lowering the rise would probably be a good idea if I don't like leggings to go all the way up to my natural waist (which I don't) so I took off 3 inches right from the start. That's the only alteration I made to this pair and they fit great! They ended up just slightly long (because I'm short) so in the next 2 pairs I made (yes, I made 3), I took out an inch from the bottom. I don't have any pictures of those because they're in the dirty laundry basket ;)

resigned in sorbetto and sew simple leggings
This is my "Resigned to my Fate" face
The top is the second Sorbetto I've made. The first one I found to be a little too short, so I added an inch in length. I also decided not to do the pleat all the way down the front. I saw a few like this around the internet and really liked it, so I decided to copy the inverted pleat look. I think this would be great lengthened into a dress with a belt around the waist! Maybe someday I'll do that.

Butt in sorbetto and sew simple leggings

Look! It's my butt! And you can see Charlie's pretty eyes. Aren't they pretty? Ahem. Right. I really like this version of the Sobetto and am planning on making another when I find some suitable fabric. This floral fabric is rayon and it's super soft and light and wonderful while still being opaque enough that I don't have to wear an undershirt. A really good summer shirt! I know it's October now... But it's still getting up to the 90s here. So I will still get some wear out of it.

petting the dog in sorbetto and sew simple leggings
Me having a very stern talk with Charlie while scratching his head. I don't think he got it...
As I said, I made 3 pairs of these leggings! I definitely recommend the pattern. I know there are awesome tutorials online on how to measure yourself and make a custom leggings pattern... but I'm lazy. And this was $3. So worth it. And they're so quick to make! These take less than 2 hours a piece from start to finish. Awesome! I want to make like 5 more!

What have you been working on? I will have more clothes to share next week! Linking up to Finish it Up Friday at Crazy Mom Quilts!

ALSO! Just a note- I have had a couple of requests for a tutorial or at least cutting directions for my Wedding/Star in star quilt. I am at least going to get the cutting directions written up for you guys and posted next week :)


Friday, September 19, 2014

The Bridesmaid Dresses

At long last! Pictures!

So I made some bridesmaid dresses for my best friend's wedding. They were super simple infinity dresses. Took about 2 hours each to make. But I love how they turned out! We all got so many compliments. If you would like to make one of your own, I used this tutorial.

infinity dress bridesmaids

Here we are with the lovely bride. This was a very handmade wedding. Bride's dress? Handmade by the bride. Her beautiful crown of flowers? Handmade by her sister (standing to the Bride's right if you couldn't tell from their amazing resemblance!). There were handmade decorations, our bouquets were also put together by her sister. It was pretty damn fantastic.

infinity dress bridesmaids before ceremony

infinity dress bridesmaids fun

We all styled our dresses differently, which was really fun. They were light and comfy, too. The fabric I used was a rayon/lycra blend I bought at fabric.com. Perfect for an outdoor, late summer wedding. I think my favorite compliment of the day was from someone who didn't know all our dresses were handmade who said how amazing it was to have dresses that looked awesome that we will actually wear again. So true! These can be dressed up or dressed down pretty easily- I hope the other bridesmaids wear theirs again!

infinity dress bridal party smooch

Here's the whole bridal party. Aren't we cute?? It was a very special wedding. I've known the bride and groom separately for years and it was me who introduced them! Isn't that awesome? Plus, Sofia (the bride) is also my future sister in law! I know, my life is like an awesome fairytale. I am going to have a best friend/sister in law. And I'm super excited about it!

Next week I'll have more clothes to share, so stay tuned! I wanted to share more this week, but it was cloudy every single day, so no good pictures were taken. Next week I am counting on the desert to produce some sunshine!

What have you all been working in?

Saturday, August 16, 2014

Busy, busy, busy!

Just wanted to drop in and say hi!

I've been spending most of my free time frantically sewing things for the upcoming wedding. I haven't had much time to think about other fun things like blogging or my Etsy store or, you know, anything! I promise a full reveal post for the wedding quilt and the bridesmaid dresses, but here are some previews from Instagram:

convertible infinity bridesmaid dress

Please excuse the messy surroundings. We have not yet decided on a home for our records... Also, this one is a little big on top because it is for one of the *ahem* bustier bridesmaids. But I was so excited to finish it that I had to get a picture!

convertible infinity bridesmaid dress back

Infinity dresses are the best! We're going to look so fierce! (And don't worry, I won't be wearing a bra that shows to the actual event!)

star in star wedding  quilt

Here is the center of the quilt. It is actually almost done now! I finished the top last weekend and started quilting this week. I'm hoping to finish it up this weekend and then figure out something awesome for a label :D

How has August been for the rest of you? My energy is flagging for sure. Looking forward to September!

Friday, June 27, 2014

Making Clothes

Lately I've been on a bit of a clothes making kick. I made an infinity/convertible dress, which I have no pictures of except this one from Instagram:

silver convertible infinity dress

I know. Super glamorous bathroom shot. I promise I'll get better pictures soon! It was really simple to make. Only took me 2 hours start to finish (I didn't hem anything though). I followed this tutorial minus the tube top part. I think I have enough fabric left to add one, though, so I might be doing that. It's such a fun dress, though! I might be making 3 more as bridesmaids dresses for my friend's upcoming wedding :)

I also made myself a Sorbetto tank top.

colette sorbetto tank polka dot front view

I'm not the biggest fan of this fabric. In this picture it looks like little white dots, which would be wonderful, but they're actually white dots with green dots inside. It's okay, but not great. But I got it at Joann for like $2/yard, so I thought it would be good for my first attempt at this pattern! So think of it as kind of a muslin ;) It was a nice, easy pattern to follow. And it was free, so that's a huge plus! I think the shape is great for a basic tank and once I make a few little changes (like better fabric!), it could easily become a summer staple.

colette sorbetto tank polka dot side view

You can see the little pleat in front better here. On my next version, I am going to make it longer for sure. I really don't like shirts that show my tummy when I lift my arms and this one will definitely do that. I will also move the darts slightly lower. I feel like they hit me a little too high. I already made the alterations on the paper pattern. Now it's just a matter of sewing up version 2!

I really want to start making more of my own clothes. They're so practical and there's such a sense of accomplishment when you finish a wearable, well fitting garment. So satisfying! So look out for more posts about clothes here ;)

Did you finish anything this week?

Linking up to Finish it Up Friday at Crazy Mom Quilts!

Thursday, March 13, 2014

Making Clothes

Lately I have been on a real clothes making kick. I need new clothes but I have so much fabric lying around that I feel slightly guilty going out and spending money on them. I also really want to improve my garment making skills, so I have been trying my best to sew more clothes for myself.

First up is a simple infinity scarf (which is actually for my sister). I'm sorry there are no pictures of them on me! I was supposed to rope Mario into a photo shoot last weekend, but we got too busy.

knit infinity scarf


She picked out the fabric, which is a medium weight pretty floral knit. It's nice and soft and not too hot. I doubt she can use it outside in these parts by this time of year, but here in the desert we have a tendency to over compensate for the hot temps outside by cranking up the AC way too much. So she'll still get some use out of it this year, I think!

Next up: a shirt.

melly sews boat neck knit shirt


For this one I used the Boat Neck pattern by Melly Sews. I downloaded it what it was still free, so not sure what the pattern looks like now. It was really easy to throw together and it's really comfy. I used another soft stretchy knit that I found at the local SAS. It wasn't too bad to sew with, but it was definitely curlier than the scarf fabric.

And last: a tank top.


striped tank top


This one I didn't use a pattern. Just traced the outline of a tank I already had with a similar amount of stretch. You can see the arm holes are rather inexpertly finished. I had bias bound one of them, but I messed up a bit and it looked awkward... then in ripping out the stitches for that, I ripped the binding in an irreparable way. Then I didn't have enough fabric left to make a new strip, so I just folded the edges under and zig zagged and called it a day. For a first tank top, it's not too bad, though! I wish the stripe was more centered in the collar, but I wasn't willing to attack it with a seam ripper after what happened to the arm hole. So I called it good.

I recently bought the Perfect Pattern Parcel, so I'm definitely planning on making more clothes! Have you heard of this? It's a package with 5 awesome sewing patterns and you get to name your price for it! You can even decide how the money is split between the designers, the creators of Perfect Pattern Parcel, and charity. Pretty fantastic idea, don't you think? This is a limited time deal, though, just 9 days left!

Do you have any clothing patterns that are simple and comfy and good for everyday? That's what I'm going for to start and would love any ideas! Thanks :)

Friday, September 27, 2013

Owl Pajamas!!

I did it! I sewed myself up some PJs with that awesome owl flannel. I didn't have anyone around to take pictures of them actually on me, so these will have to do.

owl flannel pajama pants

owl flannel pajama pants


I love how silly they are! There was a slight problem... I didn't have quite enough fabric to make them long enough to add a hem. So I improvised and added cuffs at the bottom. I don't think it looks too bad!

But there may be another problem... I didn't prewash the flannel and now I'm worried they'll shrink to be way too short! I know flannel can shrink a lot so I may have to take off the cuffs and add new ones in a different fabric. But maybe that won't be such a bad thing? It'll add interest, right? And if I get a good color, it will  totally look like an intentional design feature. Totally. Maybe if that happens I'll take the elastic out and add a waistband in the same fabric I pick for the cuffs. Then it will look really planned!

I'll wash them and see what happens... But no matter what, I will make them work! This owl fabric is just too awesome to let go to waste!

Did you do any selfish sewing this week?

Linking up to Finish it Up Friday at Crazy Mom Quilts!

Saturday, July 20, 2013

Swooning Saturday

Well, not really. I fully intended to post this yesterday. "Yes," I thought, "I will go home and make dinner and after that I'll write up my little blog post about my next Swoon block." Except after dinner I saw these sad, speckled bananas just crying out to be turned into muffins... So what could I do? I answered their call. And then because I was out of delicious nut butters to slather on my freshly made muffins, I made some chocolate almond butter, too.

By the time all that was done, all thoughts of blog posts were pushed from my mind and I drifted happily off to sleep with a belly full of homemade delights.

Anyway, though. On to the sewing!

I did finish up Swoon block 3:

elephant swoon block 3

Green and pink! I think this might be my favorite yet! I'm getting a bit faster at putting them together, too. I must be getting used to the pattern or something :)

I also gave in to the urge to make clothes. First, I made some silly PJ shorts out of some flannel I got for stupid cheap at Joann. I had never made pants or shorts before, so I decided my first try should be simple and cheap. They turned out pretty well, though it is way too hot for flannel anything right now.

flannel pajamas

But they fit and everything! I was pretty proud of myself. They took less than an hour to whip up- I will definitely be making more. Probably out of lighter fabric.

I also made a pretty skirt!

cotton voile skirt

This one is made from a nice light cotton voile I got on sale from Fabric.com a couple of months back. It wasn't bad at all working with voile and it makes such a nice finished product! I definitely want to make more clothes with it.

So that's what I've been working on. I plan to get the backing put together for the wedding quilt this weekend and get my bee block for the month knocked out. I am really lazy about bee blocks, I've found. But the obligation to the other people means I do get them done before the end of the month, so that's something I guess.

What have you been working on? Have a great weekend!

Thursday, May 9, 2013

Yarn and Things

You might think from the title of this post that I haven't gotten any sewing done so I am showing you what I've been doing with yarn. And you'd be mostly right. Technically, I haven't sewed a stitch. But! I have downloaded a pattern, cut it out, taped it together, and cut out my fabric for a shirt!

skirt as top scoop top pattern

I am making myself a Scoop Top, a free pattern from Skirt as Top.I am using some blue knit fabric that I bought on clearance at Joann... and that is all I can tell you about it. It is soft and light and probably a little see-through, which will require me to wear an undershirt. But I don't care! I just want to be able to say I made a shirt!

skirt as top scoop top fabric

Here's a close-ish shot of the fabric. Not the most exciting, maybe, but I wanted to use my least favorite fabric first in case everything went horrible wrong :)

I have also been yarning. And by that I mean both knitting and crocheting. In knitting, I finished my (poorly executed) Honey Cowl!

finished honey cowl

I sort of messed up the honeycomb pattern for a few rows in the middle there... But oh well. I wasn't going to go back and fix it. It is my first knitting project, after all, and I am okay with imperfection. It keeps my neck warm, so that's all that matters, right?

wearing honey cowl

This is my "I just took my morning shower and haven't finished my coffee..." face. I am le tired.

honey cowl mess up

And in the interest of keeping things real, I will show you how I really messed up. I could have sworn I didn't twist the yarn when I joined the first row together. Really. I remember being very proud of myself for keeping everything straight. It wasn't until half way through that I realized my mistake and by then... I just pressed on. So what if it's twisted? I just put the twist in the back under my hair and I'm good to go! Next time I'll be more careful, though.

In crocheting, I started yet another blanket. Because working on three simultaneously is a good idea. Obviously.

crochet ripple blanket in rainbow yarn

I am a big fan of this one, though. I'm using the ripple pattern from Attic24 and some Bernat Mosaic yarn. I don't remember what the yarn color is called. I call it rainbow. Because it is. But I think it has some silly name like Calypso or something. I love it so far! I love the pattern and the yarn and the bright happy colors. I was getting a little annoyed at one point where all the yellow/orange are bunched up on one side.. but then I started a new ball of yarn and that went away. Yay! I think it will be a fun little blanket when it's all done. I just ordered enough yarn to finish it while it was on sale- score! I had been buying it one ball at a time, but now I have paychecks again. YAY.

My hands have not been idle, don't worry. Not that you were worrying. Ahem. It's still early. I am hoping to get my shirt all done tonight. We'll see how that goes. If I am successful, maybe I'll have a finish to share with you tomorrow! Fingers crossed!

Friday, May 3, 2013

Skirt Success and Skirt Fail

HI.

It's been a week. I'm terrible. But to be fair, I really haven't got a lot of sewing done this week. I don't know why, really. I just didn't feel much like sewing. I am going to blame the Events of Last Weekend. That sounds ominous, but really it was just some sewing mishaps...

First, the happy bit! I made another skirt :) AND actually used a Pinterest pin! What! Here is the result:

gathered high waisted skirt with zipper- success

It is a gathered high-waisted skirt. It poofs rather nicely. I am a little sad that I didn't read the directions carefully enough to realize the zipper would end up on the side instead of the back, but really, I should have known that. I made this in a couple of hours Saturday morning and it was GREAT.

So then later, possibly still riding that "I made a skirt and it's awesome" high, I decided to make another. I bought this brown argyle fabric online, not realizing it would be so sheer in person. My plan was to make a super awesome pencil skirt for work. But a sheer pencil skirt? No way that would work. So I revised my plan to be a high-low hem skirt. The sheer, flowy fabric would be the pretty outside and I would use some plain beige fabric for a lining. Simple, right?

I got the idea from Pinterest, but I couldn't find the pin again (I know... that's what Pinterest is for). So I decided I remembered enough about it that I could wing it. I knew it was high-waisted and that it used elastic. After the successes of the morning, I figured I was a pro (that may have been the wine talking). So! I set to work!

After several hours and numerous oversights and screw ups, this is where my skirt was:

high low hem skirt- fail, rage quit

Thrown unceremoniously on my cutting table after picking out a lot of stitches...

The first thing that went horribly wrong (and probably when I should have realized my brain wasn't in a math or logic kind of place and maaaaybe should have called it a night) was that I cut the lining as a tube... a tube the size of my waist. Now, I don't know about you, but my hips and butt are way bigger than my waist. SO. That turned to scrap.

Next, I cut the lining so it would fit over my butt and thought, "SUCCESS! Now the rest of the skirt will come together with ease!" But, alas, it was not to be. The next stupid thing I did was sew the outside to the lining without leaving any space for a casing for the elastic...
high low hem skirt- fail

See? Doesn't look so bad, but where will the elastic go?! AHHH! So then, even more stupidly, I tried to just fold over the top a couple of times to make the casing. MISTAKE. It not only looked horrible, but... the skirt wouldn't come on over my butt! AHHH! Again with the maths and the logics! Of course cutting the top of the skirt to fit my waist and then adding elastic wouldn't work unless maybe the fabric was super stretchy (which it isn't at all). 

I see all the stupid things I did wrong and have a pretty good idea how to avoid doing it again... But man, what a frustration. So, I threw it down on the table and rage quit my sewing room. I have been playing with yarn ever since. But I think I may be ready to give it another shot with two important modifications. 1. A different fabric for the lining. The one I chose is stiff and heavy and if I really was the waist to be elastic, that's going to have to go. And 2. I don't remember what this was going to be. Really. I just wrote that sentence about a minute ago and I already forgot what the second modification was going to be. See why I have trouble??

I am dedicating this post to Audrey of Hot Pink Quilts because she said I make skirt-making look easy ;) It isn't always easy. I just don't always tell you when I insert the elastic waistband and it ends up super twisted or when my skirt ends up so short it barely covers my butt or when I sew a zipper on backwards (true story...). Not to discourage anyone from making a skirt! As clothing goes, skirts aren't too bad to make, really. I just advise you to start with a PLAN. Have all your measurements written out or have a pattern ready to go... at the very least, don't make a tube the diameter of your waist and expect it to go over your butt ;)

Anyway. This is my one and only finish for the week  so I'll be linking up to Crazy Mom Quilts. Hopefully next week will be more successfull and sewing-full. If not, there will be lots of pictures of yarn :D 

Monday, April 1, 2013

Progress and Un-progress...

Well, I didn't achieve my sewing goals this weekend. I spent a lot of time with family and friends and even did some much needed spring cleaning, though. So I think it was worth it.

I really did no sewing at all, though. My pile of scrappy trip blocks is still just a pile. I did at least square up the ones that needed squaring. And re-sewed one block because it was waaaay crooked. It was the last block I made. Guess I was a little tired by that point, huh?

So today, I could've gotten more work on my scrappy trip done. But after spending so much time cleaning my sewing room, stashing away all the scraps and leftover strips and putting everything back on the shelf, I just didn't feel like it. I also haven't decided on a thread color for quilting, which is annoying. Now I'm thinking yellow. Or maybe yellow going one direction and red the other. Hmmm... or maybe green and yellow. AHH! I can't decide and it's really putting a damper on my scrappy trip excitement :/

To cheer myself up about my lack of scrappy tripping, I decided what I really needed was a nice, quick project. So I made a skirt.

rotary cut skirt

Purdy, huh? I was pretty please with how it turned out. I even installed an invisible zipper in the back! It's not really invisible because I didn't really know what I was doing, but it shows way less than a regular zipper would! I count that as a win :) To make the skirt, I used the tutorial over at Lily's Quilts. She just kept posting adorable skirts on Instagram and I decided I just had to give it a shot! It really wasn't hard at all. The zipper was probably the hardest part. I used some twill I got in this weird color... It looked more purple on the interwebs and when it came in the mail I wrinkled my nose. But it's really growing on me now that it's a skirt! We'll see if I can find anything in my wardrobe that actually looks good with it, though. My goal is to make a few skirts or maybe dresses I can wear to my new job.

That's what I did today. How was your Monday?

Linking up to Let's Get Aqcuainted hosted over at From Pixels to Patchwork today and Sew Cute Tuesday at Better Off Thread!
Better Off Thread

Monday, March 18, 2013

Vegas + Driving + Clothes

Yes, finally, I have returned.

I didn't really go anywhere, mind you, but I did have a silent blogging weekend. But it was definitely not an idle weekend! I have been sewing up a storm the past week since I returned from my little vacation and now I'll show you what I was doing! Well. After a couple of other pictures of fun times :)

bad weather driving

First, a photo of the kind of weather we faced on our drive up to Las Vegas. Ridiculous, no? I'm glad Mario was driving through the worst of it! It was such an unfortunate weather weekend. I live in the southwest... I should be able to plan a vacation and expect sun pretty much anytime that isn't monsoon season. But of course, this is what happens when I finally take a vacation. The little black thing in the bottom of the picture is a headlight, by the way. I drive a mid nineties Mazda Miata. It has pop-up headlights and is totally adorable :)

in front of the fake sphinx

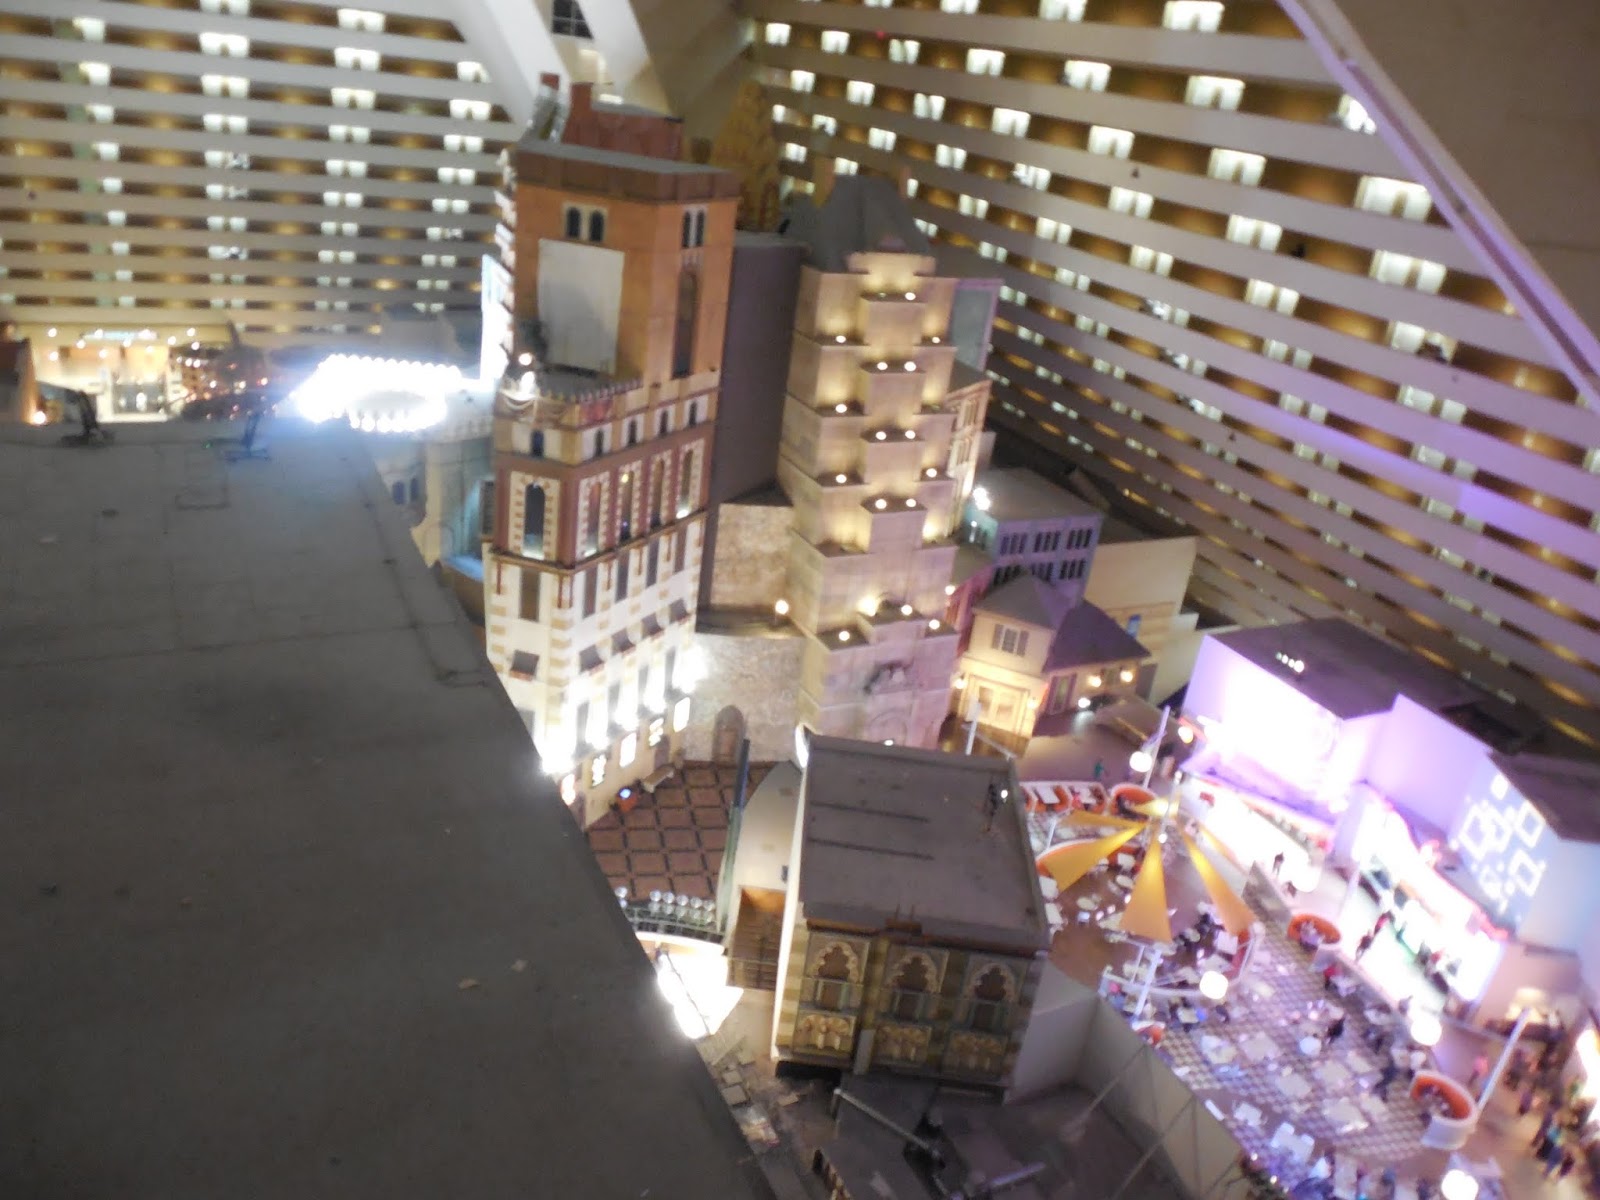
This was our ridiculous hotel. The Luxor. We stayed in a pyramid room with sloped windows and pyramid shaped hand soap.

luxor view

View from outside our hotel room door!

burgr time

At Gordon Ramsay's Burgr. Just the ladies of the group because this is the picture that turned out best :) I missed these girls!

Most of the rest of my pictures are of silly things that I won't bore you with ;) I didn't take many tourist-y pictures because half the time I forgot I even had my camera on me. I was much more excited to be seeing my old friends than I was about Vegas, anyway!

Speaking of spending time with friends, we also took a trip up Mt. Lemmon last weekend with the Volvo crew. Yeah, there's a crew.

volvos in a row

These are the cars that came up the mountain with us! We invited more people, but for various reasons they couldn't make it. Still! It was a ton of fun.

top of the mountain

Here's Mario and I at the top of the mountain! See the snow in the background?? It was over 90 degrees in Tucson that day. But at the top of Mt. Lemmon there was still snow! Exciting! We're leaning on the green Volvo :)

do not attempt

Our friend, Beau, got some really fancy pictures and videos on the way down. I don't recommend doing this, though! It looks rather terrifying to me. But he's crazy. Anything for a good car picture!

Whew! Okay. So those are some of the fun things I've been doing lately. Well, the fun non-sewing things. I have also been making more clothes! Look!

shirred tube dress

pleated wrap skirt

elastic waist skirt with pockets

skirt from old t-shirt


Three skirts and a dress! I made the first two from scratch. The top one was my first time shirring anything and I am pleased to say it was pretty easy. And it fit when it was finished and didn't fall apart! The second one is a (very wrinkled from wear) pleated wrap skirt. I loosely based it on this tutorial found via Pinterest. I didn't have enough fabric left after making the dress to follow the pattern exactly and still have it wrap around me, so I made the pleats much smaller. I think it still turned out pretty cute! I wore it all day (hence the wrinkles!) and got a lot of compliments :)

The last two were refashions of clothes I was planning to donate or throw away (for the really worn out items). I stumbled across the blog Refashionista, written by a lovely lady named Jillian Owens and after reading about 200 posts, I became a little obsessed. I immediately starting digging through my donation clothes to see what I could come up with. The pink and brown skirt used to be a shirred tube dress, much like the one I made. But I LOVED that dress and wore it to death. The elastic was just dying and the top was starting to unravel... But I thought maybe the bottom was still salvageable so I cut it off and added an elastic waist band and voila! My adorable dress is now and adorable skirt! With pockets!! The last one actually used to be a t-shirt that was sadly way too big for me after I lost some weight. The material was pretty heavy for a t-shirt, so I thought it would make a cute, comfy, casual skirt. again, I just cut the top off right under the sleeves and added an elastic waist band (I need to buy more elastic now...). It's so comfortable! And purple! I love how it turned out :) 

I will definitely be doing more refashioning. I think each of these skirts took me about 30 minutes (maybe) and the results were so cute! Plus, I was able to give new life to clothes I still loved but couldn't wear anymore. Jillian's blog is so much fun and so inspiring. I definitely have a new awareness of the clothes I own and I think after spending so much time reading her blog I will take to my next shopping trip with heightened awareness of the spending choices I make. If you have any interest in making cute clothes from thrift store purchases, you should definitely check out her blog! 

Did you make it to the end? WOW. Good for you :) Don't worry, I haven't abandoned quilting. I just needed a little break after Mr. Hounds Tooth. I'm working on Bee and BOM blocks this week- my goal is to have them all done by Friday. Wish me luck! First up is my March block for the Newbee Quilters Bee, a Sawtooth star in red, blue, and gray. Better get back to work!

newbee quilters march sawtooth star


Linking up to Let's Get Acquainted, hosted by Jamie Lee at Busy Bee Quilts this week!